ISXDK:Creating a Basic Extension
Contents
Installation
Step 1: Install ISXDK
First you will have to install ISXDK
Step 2: Create your extension
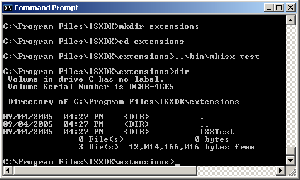
After installing ISXDK, there will be a program called mkisx. The default directory for this is C:\Program Files\ISXDK\bin . I suggest creating a directory in C:\Program Files\ISXDK called extensions, entering that directory, and using the command ..\bin\mkisx <name> to create your first extension (we will use mkisx test for explanation purposes) (See Picture)
Step 3: Load your extension in VS .NET
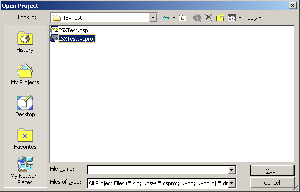
Inside VS.NET Use the file menu, open, project, and open C:\Program Files\ISXDK\Extensions\ISXTest\ISXTest.vcproj
Step 4: Compile your new extension
After loading your new extension open the build menu and choose build ISXTest and your first extension will be built.
Step 5: Put your new .DLL into your innerspace directory
Inside C:\Program Files\ISXDK\Extensions\ISX<name>\Release there will be a dll named ISXTest.dll, put it right in your InnerSpace\Extensions folder and now it is ready to go!
Step 6: Load your extension in Inner Space
Open a session of your favorite game, load the console with `, and type in 'ext isxtest' and you should see
ISXTest Loaded
Extension 'isxtest' loaded
Summary
There is the basic set up for an extension so now you're free to add anything you would like to it. Other tutorials are available to learn how to add specific things.

